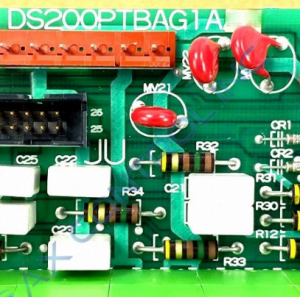
GE DS215GASQG4AZZ01A (DS200SDCCG4AEC+DS200SLCCG3ACC) Drive Control Card
Description
| Manufacture | GE |
| Model | DS215GASQG4AZZ01A |
| Ordering information | DS200SDCCG4AEC+DS200SLCCG3ACC |
| Catalog | Speedtronic Mark V |
| Description | GE DS215GASQG4AZZ01A (DS200SDCCG4AEC+DS200SLCCG3ACC) Drive Control Card |
| Origin | United States (US) |
| HS Code | 85389091 |
| Dimension | 16cm*16cm*12cm |
| Weight | 0.8kg |
Details
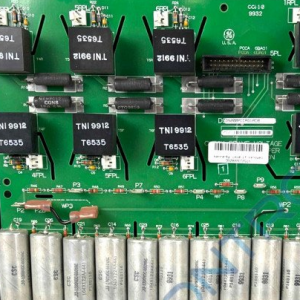
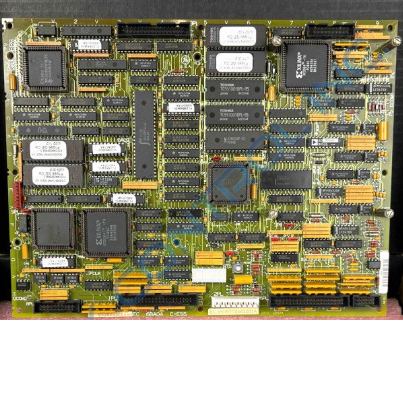
The GE Drive Control Board DS200SDCCG4AEC is the primary controller for the drive. The GE Drive Control Board DS200SDCCG4AEC is populated with 3 microprocessors and RAM that can be accessed by multiple microprocessors at the same time.
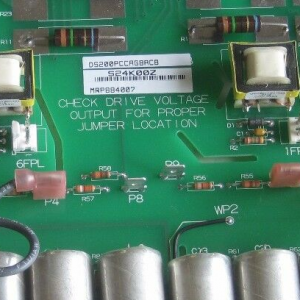
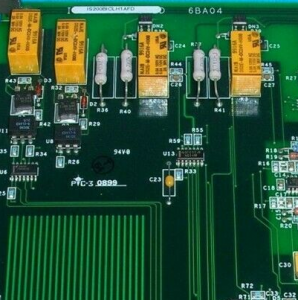
The GE Drive Control Board DS200SDCCG4AEC contains all the processing functionality to control the drive. It can also transmit and receive signals to other boards and devices to perform as described. However, optional cards are available to add extra functionality to the board. The cards are used to add communication functionality to a local area network and provide added signal processing capability. Standoffs are supplied on the GE Drive Control Board DS200SDCCG4AEC to attach the cards. Use a screwdriver to attach the cards using the screws that are supplied with the cards.
One or more cables are attached from the card to connectors on the board. If you must replace the GE Drive Control Board DS200SDCCG4AEC you must first disconnect the cables from the auxiliary cards and also use a screwdriver to remove the screws that secure the cards to the board. Keep the screws, cables, and cards together in safe place and ready for use. When you are ready to setup the replacement board, attach the cards to the board and reconnect the cables.
Also remove the EPROM modules from the defective board. Use your thumb and forefinger to pull the EPROMs from the board and insert them into the connectors on the replacement board. Use one finger to press them gently into the connector.